uvc9360slss installation manual
Category : Manuals
Welcome to the UVC9360SLSS Installation Manual! This guide provides detailed instructions for installing your GE Smart Designer Custom Hood Insert. Follow these steps to ensure safety, proper installation, and optimal performance of your appliance.
Overview of the UVC9360SLSS Range Hood
The UVC9360SLSS is a 36-inch Smart Designer Custom Hood Insert designed for efficient ventilation and advanced air purification. Featuring a powerful 610 CFM blower motor, it offers adjustable speed settings to suit various cooking needs. Equipped with UV-C technology, it effectively removes airborne pollutants and odors. The hood includes dishwasher-safe baffle filters and dimmable LED lighting for optimal visibility. Its sleek, stainless steel design integrates seamlessly into modern kitchens, providing both functionality and style. This range hood is ideal for those seeking a customizable and efficient ventilation solution with cutting-edge features.
Importance of Proper Installation
Proper installation of the UVC9360SLSS is crucial for ensuring optimal performance, safety, and longevity. Improper installation can lead to reduced airflow, increased noise, and potential electrical or fire hazards. Correctly mounting the hood, connecting ductwork, and setting up electrical connections ensures efficient ventilation and air purification. It also guarantees compliance with safety standards and manufacturer warranty terms. Always follow the manual’s guidelines or consult a professional to avoid installation errors and maintain your appliance’s efficiency and reliability. Proper installation is key to enjoying the full benefits of your GE range hood.
Pre-Installation Checklist
Before starting, ensure you have all necessary tools and materials. Measure the installation area to confirm compatibility with the hood’s dimensions. Verify ducting and venting requirements, ensuring proper alignment and size. Check electrical connections for correct voltage and circuit specifications. Ensure the hood is compatible with your existing kitchen setup. Unpack and inspect the unit for any damage. Familiarize yourself with local building codes and safety regulations. Gather all included components and hardware. Plan the installation layout to avoid obstacles. Proper preparation ensures a smooth and efficient installation process for your UVC9360SLSS range hood.

Key Features of the UVC9360SLSS
The UVC9360SLSS features a powerful 610 CFM blower motor, UV-C technology for air purification, adjustable blower speed, and LED lighting with dishwasher-safe baffle filters for optimal performance and convenience.
610 CFM Blower Motor
The UVC9360SLSS is equipped with a high-performance 610 CFM blower motor, designed to efficiently ventilate your kitchen. This powerful motor captures smoke, grease, and odors effectively, ensuring a cleaner cooking environment. The adjustable speed feature allows you to customize airflow based on your cooking needs, from gentle simmering to high-heat frying. With its robust design and quiet operation, this blower motor is both durable and efficient, making it a key component in maintaining indoor air quality and comfort in your home.
UV-C Technology for Air Purification
The UVC9360SLSS features advanced UV-C technology, which uses ultraviolet light to purify the air by eliminating bacteria, germs, and harmful airborne particles. This innovative system complements traditional filtration by targeting microorganisms that filters alone may miss. Activated during operation, the UV-C light ensures cleaner air circulation, reducing odors and creating a healthier cooking environment. This technology is especially beneficial for households concerned about indoor air quality, providing an additional layer of purification for enhanced comfort and well-being.
Adjustable Blower Speed
The UVC9360SLSS offers an adjustable blower speed, allowing you to customize airflow based on your cooking needs. With multiple speed settings, you can choose from quiet operation for everyday use to higher settings for heavy cooking that produces more smoke and grease. This feature enhances flexibility, ensuring efficient ventilation while maintaining a comfortable kitchen environment. The adjustable speed also helps in reducing noise levels when lower settings are sufficient, providing a balanced performance between power and quiet operation for optimal user experience.
LED Lighting and Baffle Filters
The UVC9360SLSS features dimmable LED lighting, providing bright, energy-efficient illumination for your cooking surface. The LEDs are designed to last long and maintain consistent brightness, enhancing visibility while cooking. Additionally, the range hood comes with dishwasher-safe baffle filters that capture grease and airborne particles effectively. These filters are easy to remove, clean, and reinstall, ensuring optimal performance and hassle-free maintenance. The combination of advanced lighting and durable filtration systems makes this hood both functional and user-friendly, contributing to a cleaner and safer kitchen environment. Regular cleaning of the filters is recommended to maintain airflow efficiency and overall performance.

Pre-Installation Requirements
Ensure proper measurements, ducting, and electrical connections are in place. Verify compatibility with your kitchen setup and gather necessary tools before starting the installation process.
Measuring the Installation Area
Accurate measurements are crucial for a proper fit. Measure your kitchen space to ensure compatibility with the UVC9360SLSS, which is designed for a 36-inch width. Check the height and depth of your cabinetry or installation area to align with the unit’s dimensions. Ensure the area is clear of obstructions and meets the venting and electrical requirements. Verify the ducting space and distance from nearby appliances. Double-check all measurements against the product specifications to ensure a seamless installation process and optimal performance of your range hood.
Ducting and Venting Requirements
Proper ducting and venting are essential for efficient operation. The UVC9360SLSS requires a 6-inch round duct for optimal airflow. Ensure the ductwork is insulated and securely connected to prevent leaks. The maximum duct run length is 50 feet, with minimal bends for best performance. Use a vent cap or termination point outside your home, at least 12 inches above the roof or 3 feet from any window or door. Avoid installing near flammable materials and ensure compliance with local building codes. Proper venting ensures safe removal of grease, odors, and moisture, maintaining indoor air quality and appliance efficiency.
Electrical Requirements
The UVC9360SLSS requires a 120V, 60Hz power supply. A dedicated 15-20 amp electrical circuit is necessary to ensure reliable operation. The unit must be connected to a grounded outlet or junction box. Avoid using solid-state speed control devices, as they may interfere with the motor. Ensure all electrical connections comply with local building codes and regulations. If installing near water sources, use a GFCI-protected outlet for safety. Turn off power at the circuit breaker before starting installation to prevent electrical hazards. Proper wiring ensures safe and efficient operation of your range hood.
Compatibility with Existing Kitchen Setup
Ensure the UVC9360SLSS fits seamlessly into your kitchen. It is designed for installation under standard 36-inch cabinets with a minimum 18-inch clearance from combustible materials. The unit accommodates ducted or ductless configurations, depending on your ventilation needs. Verify that the hood’s dimensions match your cooktop or range setup. Check local building codes for specific requirements. Proper alignment with existing ductwork or installation of new ducting ensures efficient airflow. The LED lighting and baffle filters are compatible with most kitchen aesthetics, offering a modern look without compromising functionality. Ensure all measurements align before installation to avoid modifications and ensure a smooth setup process.
Installation Process
Install the UVC9360SLSS by first unpacking and inspecting the unit. Mount the hood insert securely, ensuring proper alignment with your kitchen setup. Connect the ductwork according to the manual’s specifications, then install the electrical connections, following safety guidelines. Finally, test the unit to ensure all features function correctly before finalizing the installation.
Unpacking and Inspecting the Unit
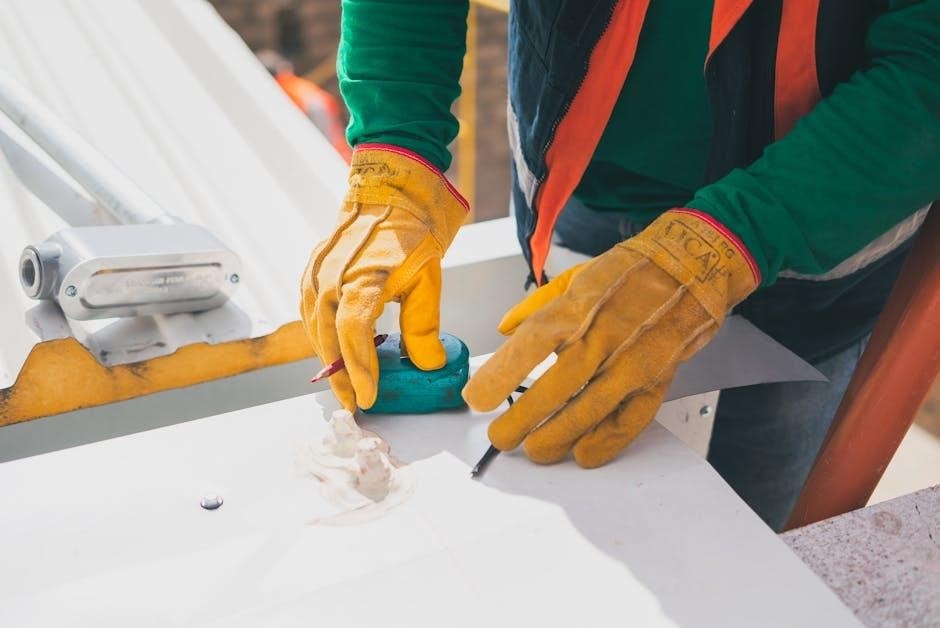
Begin by carefully unpacking the UVC9360SLSS hood insert and its components. Inspect for any visible damage or defects. Verify all parts, including filters, screws, and ducting components, are included. Check the unit’s electrical connections and ensure they are intact. Before proceeding, refer to the manual to confirm all items are accounted for. If any damage is found, contact customer support immediately. Proper inspection ensures a safe and successful installation process. Wear gloves to protect yourself from sharp edges during unpacking. Do not proceed with installation if the unit is damaged.
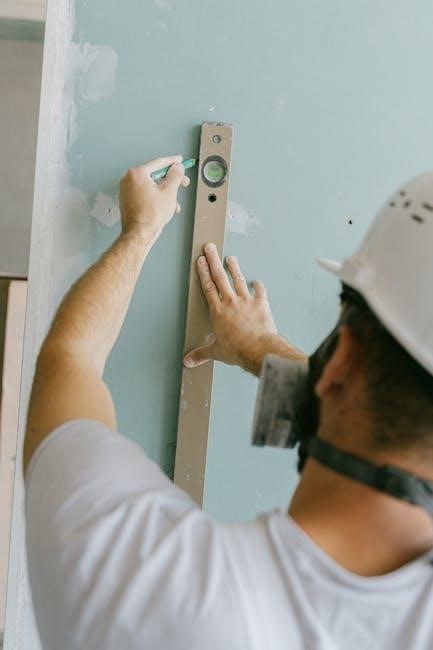
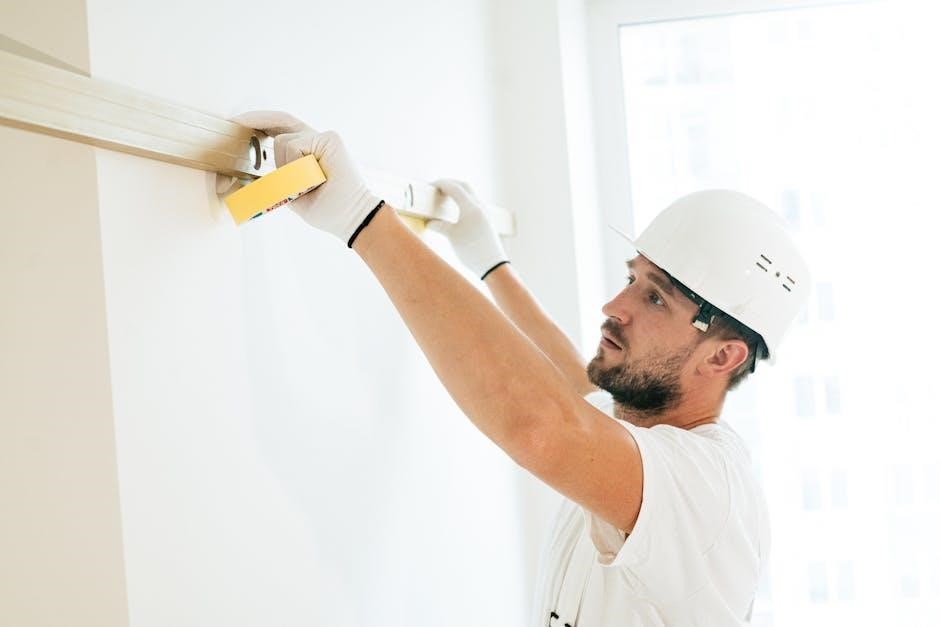
Mounting the Hood Insert
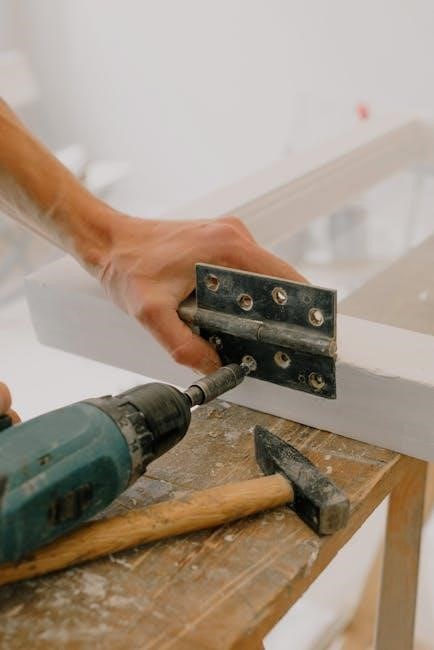
Mounting the UVC9360SLSS hood insert requires precise measurement and alignment. Locate the mounting bracket in the cabinet above your range or cooktop, ensuring it aligns with the hood’s dimensions. Use a level to confirm the bracket is straight. Secure the bracket to the cabinet using the provided screws. Carefully lift the hood insert and attach it to the mounting bracket, ensuring it is tightly fastened. Double-check the alignment to ensure proper fit and functionality. Refer to the manual for specific measurements and torque specifications. Always wear gloves and work in a well-lit area for safety. If unsure, consult a professional for assistance.
Connecting Ductwork
Connecting the ductwork for the UVC9360SLSS involves attaching the hood’s vent to your home’s ducting system. Use a ducting kit compatible with the hood’s outlet size. Ensure the ductwork is properly aligned and securely fastened to prevent leaks. Apply duct sealant or tape to all connections for an airtight seal. If using flexible ducting, avoid kinks or bends that could restrict airflow. Refer to the manual for recommended ducting configurations. Always follow local building codes and safety guidelines. Proper ventilation ensures efficient operation and reduces the risk of moisture buildup or poor airflow. Double-check all connections before finalizing the installation.
Installing Electrical Connections
Before installing electrical connections, ensure the power supply is turned off at the circuit breaker. Use a voltage tester to confirm there is no power to the wires. The UVC9360SLSS requires a dedicated 20-amp, 120-volt electrical circuit. Connect the hood’s electrical wires to the corresponding wires in your home’s electrical system, following the wiring diagram in the manual. Secure all connections with wire nuts or connectors. If your hood includes smart features, ensure the Wi-Fi or control module is properly connected. Always ground the appliance to prevent electrical hazards. Consult a licensed electrician if you are unsure about any step.
Post-Installation Steps
After installation, test the unit to ensure all features function correctly. Check ventilation performance and make any necessary adjustments for optimal operation.
Testing the Unit
After installation, test the UVC9360SLSS to ensure all features function properly. Turn on the blower and verify it operates at all speed settings. Check the UV-C light to confirm it activates and deactivates as intended. Ensure the LED lights illuminate and dim correctly. Test the baffle filters to ensure they are securely in place and functioning. Verify proper airflow by checking ventilation through the ductwork. If any issues arise, consult the troubleshooting section of this manual for guidance. Regular testing ensures optimal performance and longevity of your range hood.
Ensuring Proper Ventilation
Proper ventilation is crucial for the UVC9360SLSS to function effectively. Ensure the ductwork is correctly installed and free of leaks to maintain maximum airflow. Verify that the venting system is appropriately sized for your kitchen and meets local building codes. If using an exterior vent, ensure it is securely installed to prevent backdrafts and moisture issues. After installation, test the ventilation by running the blower at full speed and checking for smooth airflow through the ducts and vent. Proper ventilation ensures efficient removal of smoke, grease, and odors, maintaining a clean and healthy kitchen environment.
Final Adjustments and Alignment
After installing the UVC9360SLSS, perform final adjustments to ensure proper alignment and function. Check the hood’s level and secure all mounting screws. Adjust the baffle filters to ensure they fit snugly and are properly seated. Verify the LED lighting is evenly distributed and free of obstruction. Align the ductwork connections to prevent air leaks and ensure smooth airflow. Finally, test all functions, including the blower speeds and UV-C lighting, to confirm everything operates as intended. Proper alignment ensures optimal performance, safety, and extends the lifespan of your range hood.
Operating and Maintaining the UVC9360SLSS
Understand the controls for optimal function, clean filters regularly to maintain efficiency, and use UV-C lighting effectively. Ensure proper ventilation for consistent performance and longevity of the unit.
Understanding Controls and Settings
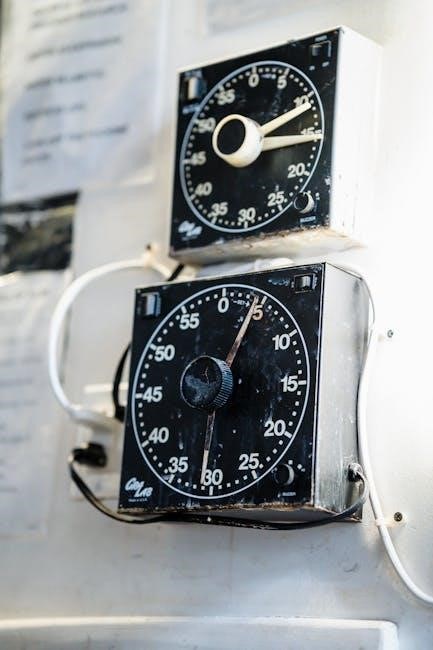
Mastering the controls of your UVC9360SLSS ensures efficient operation. The adjustable blower speed allows you to customize airflow based on cooking needs. LED lighting can be dimmed to suit your kitchen ambiance. The UV-C technology is activated with a dedicated button, providing advanced air purification. Familiarize yourself with the touch-sensitive interface for seamless control of fan speed, lighting, and purification modes. Regularly check and clean filters to maintain optimal performance. Adjust settings according to your cooking habits to maximize efficiency and minimize noise. Proper use of controls ensures longevity and effectiveness of your range hood.
Cleaning and Replacing Filters
Regular maintenance of filters ensures optimal performance. The dishwasher-safe baffle filters can be removed and cleaned periodically to eliminate grease buildup. For the UV-C filter, replace it every 12 months or as indicated by reduced air quality. Cleaning the filters prevents odor accumulation and maintains airflow efficiency. Always turn off the hood before servicing. Refer to the manual for specific instructions on filter removal and replacement. Proper maintenance extends the lifespan of your range hood and ensures clean, fresh air in your kitchen.
Using UV-C Lighting Effectively
The UV-C lighting in your UVC9360SLSS is designed to purify the air by eliminating germs and bacteria. For optimal effectiveness, ensure the UV-C feature is activated during cooking to neutralize odors and contaminants. The UV-C light operates independently of the fan, allowing continuous air purification. Replace the UV-C filter annually or as needed to maintain efficiency. This feature enhances indoor air quality, creating a healthier cooking environment. Always follow the manufacturer’s guidelines for UV-C maintenance to maximize its benefits and prolong its lifespan.
Troubleshooting Common Issues
Identify and resolve common problems with your UVC9360SLSS, such as poor airflow or unusual noises, by referencing the manual’s troubleshooting section for quick solutions and guidance.
Addressing Poor Airflow
Poor airflow in your UVC9360SLSS range hood can be caused by blocked ducts, dirty filters, or improper installation. Ensure all vents and ducts are clear of debris. Clean or replace baffle filters regularly to maintain efficiency. Check for kinks or obstructions in the ductwork and verify that the hood is properly aligned with your cooking surface. If issues persist, consult the manual for additional troubleshooting steps or contact customer support for assistance. Proper airflow is essential for optimal performance and reducing grease, smoke, and odors in your kitchen.
Resolving Noise Problems
Noise issues with your UVC9360SLSS range hood may stem from loose components, improper installation, or debris in the ductwork. Ensure all screws and mounting brackets are securely tightened. Check for any obstructions in the ducts, as blockages can cause vibrations and noise. Clean or replace filters if clogged, as this can disrupt airflow and increase noise levels. If the issue persists, refer to the manual for troubleshooting steps or contact GE customer support for professional assistance. Proper maintenance and installation are key to minimizing noise and ensuring smooth operation.
Fixing LED Lighting Malfunctions
If the LED lights on your UVC9360SLSS hood are not functioning properly, start by ensuring the unit is correctly powered and the light switch is in the “on” position. Check for loose connections in the wiring harness or between the LED module and the control board. Verify that the dimmer function is not malfunctioning. Clean any debris or dust that may be blocking the light output. If the issue persists, consult the manual for specific troubleshooting steps or consider replacing the LED module. For complex problems, contact GE customer support for professional assistance to restore proper lighting functionality.
Warranty and Support Information
GE provides a 1-year limited warranty on parts and labor for the UVC9360SLSS. Additional support options, including extended warranties, are available through GE’s customer service team. Visit their website or contact their dedicated support line for assistance.
Understanding the Warranty Terms
The UVC9360SLSS warranty covers parts and labor for one year from the date of purchase. This warranty applies to defects in materials and workmanship under normal use and maintenance. It does not cover damages caused by misuse, neglect, or improper installation. Extended warranty options are available for purchase, offering additional protection beyond the standard coverage period. For specific details, refer to the warranty documentation provided with your product or contact GE customer service.
Contacting Customer Support
For assistance with your UVC9360SLSS, GE offers dedicated customer support. Visit the official GE Appliances website for contact information, support articles, and troubleshooting guides. You can reach their customer service team via phone or live chat for inquiries about installation, maintenance, or warranty. Additionally, registered users can access exclusive support resources. Ensure to have your product serial number ready for efficient service. The support team is available to address any concerns, providing expert guidance to ensure your product functions optimally.
Registering Your Product
Registering your UVC9360SLSS is essential for warranty validation and accessing exclusive support benefits. Visit the GE Appliances website and navigate to the product registration page. Enter your personal details, product serial number, and purchase information. Once registered, you’ll receive updates, maintenance reminders, and priority customer support. Registration ensures your product is covered under the manufacturer’s warranty and provides a record of ownership. This step is crucial for maintaining warranty eligibility and receiving timely assistance if issues arise. Complete the registration process shortly after installation to enjoy uninterrupted support and service for your UVC9360SLSS range hood.
Thank you for following the UVC9360SLSS installation manual. Proper installation ensures optimal performance and longevity. Refer to this guide for future maintenance and troubleshooting needs.
Final Tips for Optimal Performance
Regularly clean the baffle filters and check the UV-C light for optimal air purification. Ensure ductwork is clear of obstructions for maximum airflow efficiency. Adjust the blower speed according to cooking needs to minimize noise and energy use. Replace the UV-C light every 12 months to maintain germ-killing effectiveness. Check for loose connections and ensure proper ventilation after installation. Refer to the manual for specific maintenance schedules and troubleshooting tips to extend the lifespan of your UVC9360SLSS range hood.